Parts
Presta Valves: Characteristics and Features
When it comes to bicycle tire valves, the Presta valve stands out as one of the most popular and widely used options. As a significant component in the world of cycling and tire maintenance, understanding the characteristics and features of Presta valves is essential for both amateur and professional cyclists alike.
Introduction to Presta Valves
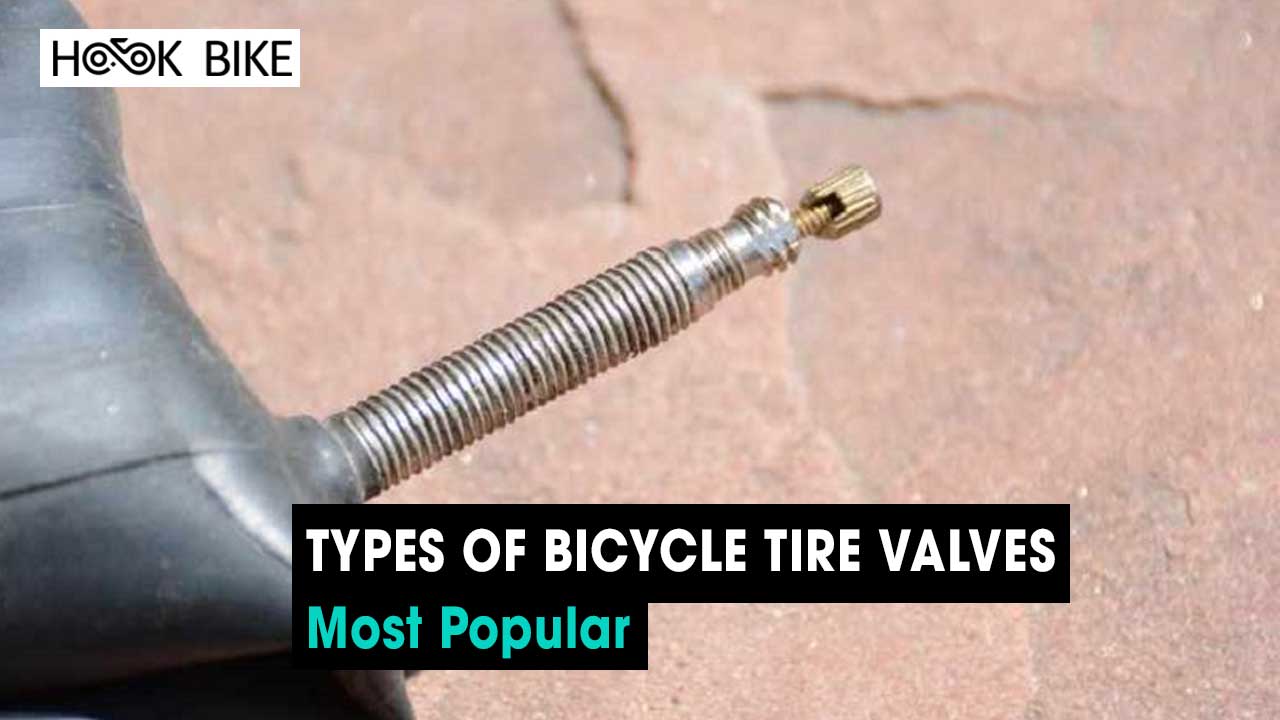
The Presta valve, also known as a Sclaverand valve or French valve, is one of the two main valve types found on bicycle tires (the other being the Schrader valve). Here’s a brief introduction to Presta valves:
Design and Appearance
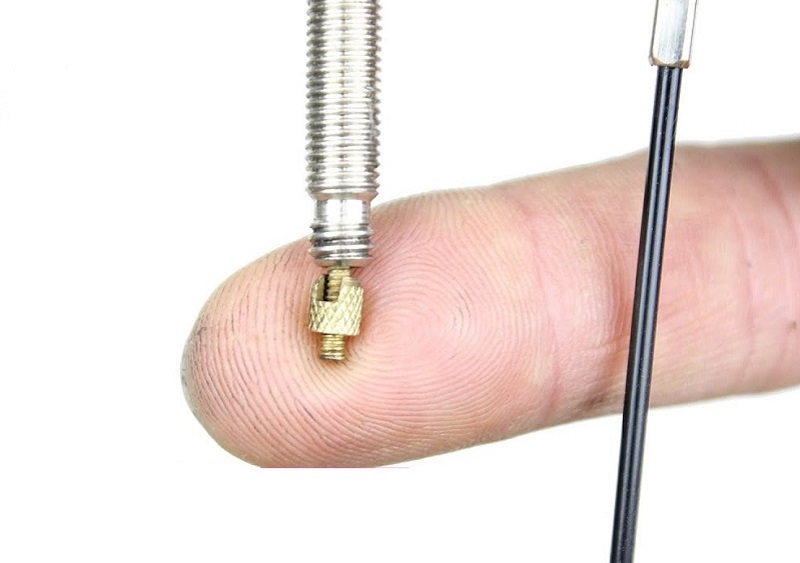
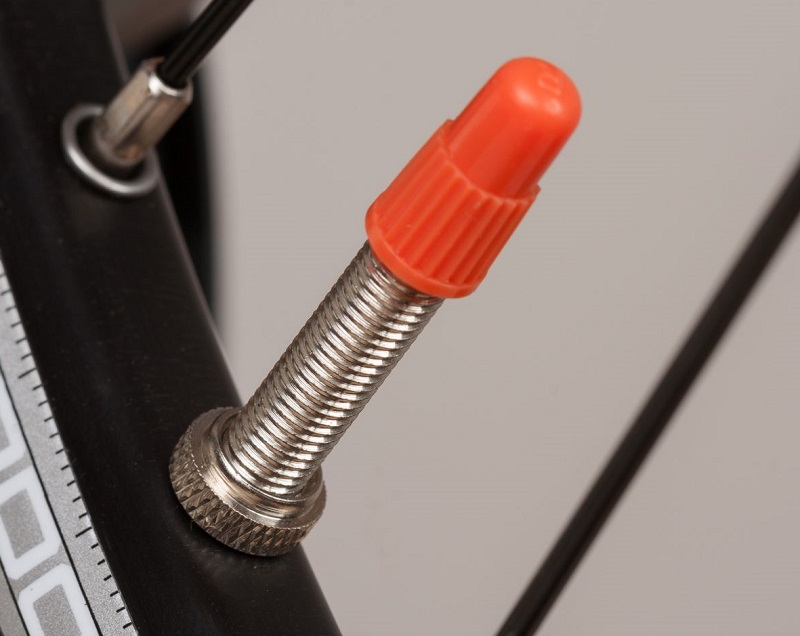
A Presta valve is slender and elongated. It consists of an outer valve stem and an inner valve core.
At the top of the valve, there’s a small locknut, which is used to secure the valve core in place. When you want to inflate the tire, this locknut must be unscrewed (but not removed) to allow air to enter or leave.
Advantages
Slimmer Profile: The Presta valve’s slim design means it requires a smaller hole in the rim, which can be advantageous for performance-oriented rims, especially those used in road biking where rim strength is crucial.
Air Pressure: Presta valves tend to hold high air pressure better than Schrader valves, making them preferable for certain applications like road cycling where higher pressures are commonly used.
No Check Valve: Unlike Schrader valves, Presta valves don’t have a check valve which makes it easier to top off with air. This also allows for faster deflation.
Inflation
Before inflating, always unscrew the small locknut at the top of the valve.
Push down slightly on the valve to break the seal and release a small amount of air. This ensures the valve is working and not stuck.
Attach the pump and inflate. Many bicycle pumps come with dual heads to fit both Presta and Schrader valves.
Once you’ve reached the desired pressure, tighten the locknut back down.
Adapters
If you don’t have a pump that fits a Presta valve, you can use a Presta-to-Schrader adapter. This small, inexpensive tool screws onto the open Presta valve and allows you to use a Schrader-compatible pump.
In summary, Presta valves are a common choice for many cyclists due to their slim design and ability to hold high air pressures. Familiarizing yourself with their operation and care can make maintenance and inflation tasks easier and more efficient
See more: Dunlop Woods Valves
Advantages of Using Presta Valves
Presta valves are a popular choice among cyclists, especially those who use performance-oriented bicycles. Here are some advantages of using Presta valves:
- Smaller Hole in the Rim: The design of the Presta valve requires a smaller hole in the rim compared to the Schrader valve. A smaller hole can improve the strength and integrity of performance-oriented rims, particularly those with a narrower profile.
- Better Air Retention: Presta valves typically hold air pressure more reliably than Schrader valves. The absence of a spring-loaded check valve (found in Schrader valves) means that there’s no mechanism that could potentially fail and let air out.
- Fine-tuned Air Adjustment: The design of the Presta valve allows for easier incremental air adjustments. A gentle push can release small amounts of air, making it easier to achieve a precise tire pressure.
- No Check Valve: As mentioned, Presta valves lack a check valve. This absence allows for faster deflation when needed and can simplify the process of topping off with air.
- Less Likely to Clog: The valve’s design makes it less susceptible to dirt and mud infiltration, which can be especially useful for mountain bikers or those riding in dirty conditions.
- Lightweight: Presta valves tend to be lighter than Schrader valves, which might be a consideration for riders concerned about minimizing weight.
- Compatibility with High-Pressure Pumps: High-performance road bike tires often require higher pressures, and Presta valves are designed to be compatible with high-pressure pumps.
- Aesthetic and Tradition: Some riders prefer the sleeker look of the Presta valve, especially on road bikes. Additionally, there’s a certain tradition among road cyclists and some track cyclists in using Presta valves.
- Safety Locknut: The small locknut at the top of a Presta valve ensures that the valve core doesn’t depressurize accidentally. This feature provides an extra layer of security against unintentional air release.
While Presta valves have many advantages, it’s essential to note that the best valve type often depends on the specific use case and personal preferences. Some cyclists, especially those using city bikes, hybrids, or certain mountain bikes, might still find Schrader valves more convenient due to their widespread use in automotive applications and compatibility with a broader range of pumps without needing an adapter.
Installing and Maintaining Presta Valves
Installing and maintaining Presta valves properly will ensure their longevity and proper functioning. Here’s a step-by-step guide on how to do just that:
Installing Presta Valves
Tube Preparation
Ensure the inner tube is slightly inflated. This will help shape it and avoid pinching during installation.
Valve Hole Check
Ensure the rim’s valve hole is the correct size for the Presta valve and doesn’t have any burrs or sharp edges that might damage the valve or tube.
Inserting the Valve
Push the Presta valve through the valve hole in the rim. Be gentle to avoid bending the valve.
Tube and Tire Placement
Place the inner tube inside the tire. Starting at the valve, work the tire bead (the tire’s edge) onto the rim.
As you work your way around the rim, ensure the tube isn’t being pinched between the tire and rim.
Inflation
Before inflating, unscrew the small locknut at the top of the Presta valve. Push down briefly on the valve to release a bit of air and ensure it’s not stuck.
Attach the pump and inflate the tire to the recommended pressure. Once inflated, tighten the locknut back down.
Secure with Valve Cap
Place the valve cap on the Presta valve to prevent dirt and debris from entering.
See more: Schrader Valves
Maintaining Presta Valves
Regular Checks
Regularly check the condition of the Presta valve for signs of wear, corrosion, or damage. Ensure the valve isn’t bent, as this can lead to failure.
Cleanliness
After rides, especially in muddy or dusty conditions, clean the valve and ensure it’s free from dirt and debris. The valve cap will help in preventing the accumulation of dirt, but it’s still good practice to clean the valve from time to time.
Check for Leaks
Periodically test for slow leaks. Submerge the valve in water and look for air bubbles. If bubbles appear consistently from the valve, there might be a leak.
Replacement
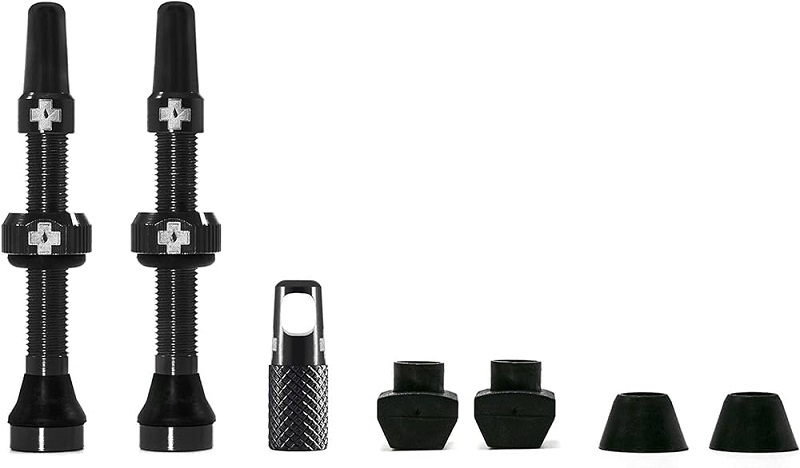
If the valve becomes damaged or starts to fail, consider replacing the entire inner tube or, in the case of tubeless setups, the tubeless valve.
Avoid Over-Tightening
When closing the locknut on the valve, avoid over-tightening, which can damage the valve or make it difficult to open in the future.
Lubrication
If the valve becomes tough to open, a small drop of lubricant can ease the operation. However, be careful not to introduce contaminants into the valve.
Proper care and regular checks will maximize the lifespan of your Presta valves and ensure they function correctly. With appropriate attention, these valves can serve you reliably for many rides to come.
In conclusion
Presta valves offer a blend of efficiency, durability, and versatility that make them a preferred choice for many cyclists. By understanding their unique characteristics and features, users can ensure optimal performance and longevity from their bicycle tires.